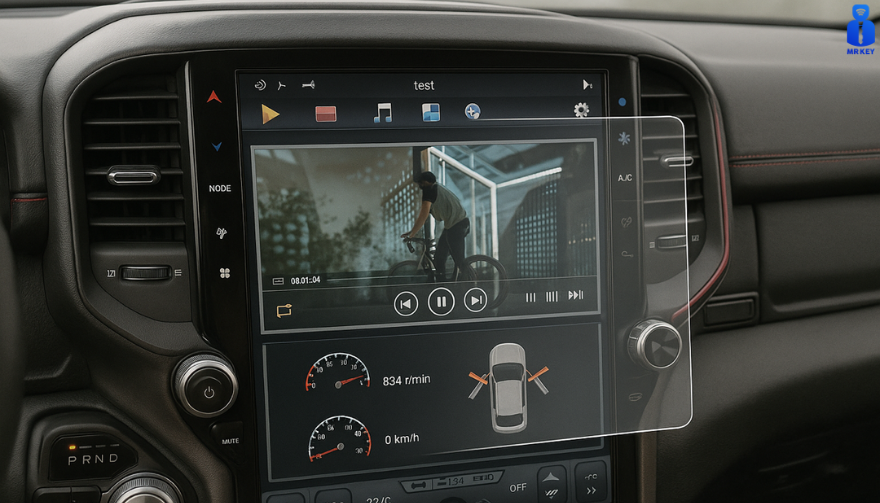
Cars and vehicles nowadays often include large touchscreen navigation systems that are prone to scratches, fingerprints and cracks. These displays are expensive to replace – one owner reported a factory infotainment screen costing over $3,000 to swap out – so protecting them is crucial. That’s where navigation screen protectors come in. The two main options are hydrogel film protectors and tempered glass protectors. Below, we compare hydrogel vs tempered glass for car navigation screens, looking at fit, durability, clarity and more, so you can choose the best protection for your car.
Hydrogel vs Tempered Glass: The Essentials
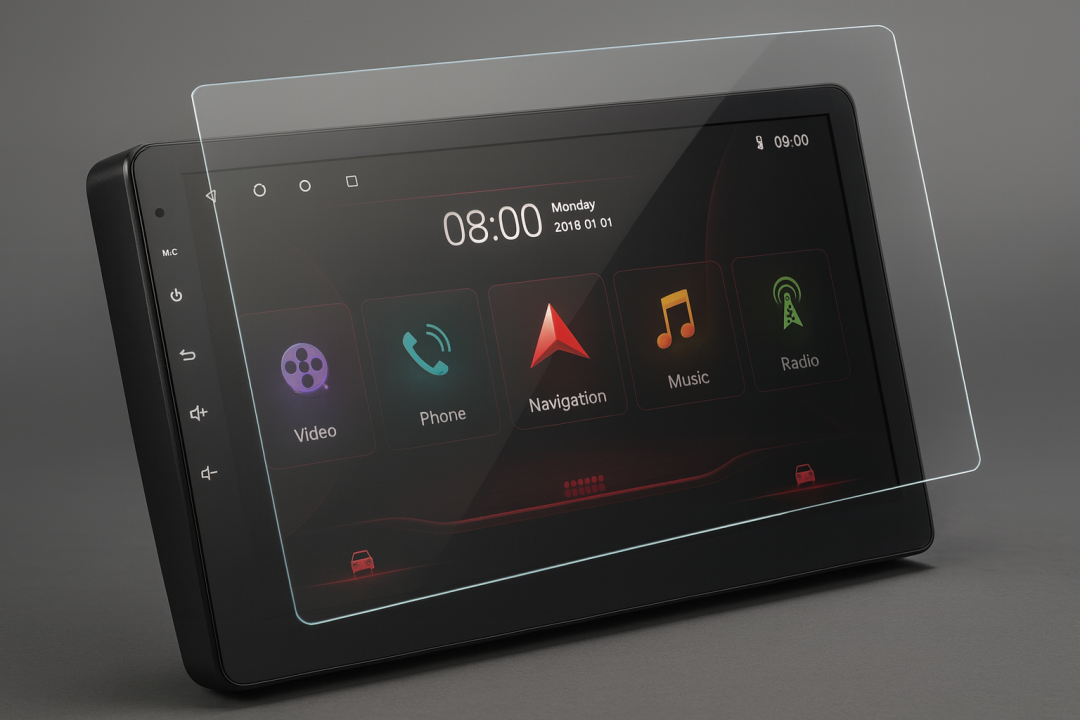
Tempered glass protectors
A rigid, hard 9H glass shield. Excellent scratch resistance, very clear, and feels like the original screen. Best for completely flat displays.
Hydrogel protectors
A flexible, self-healing polymer film originally used in aviation and military applications. Ultra-thin, edge-to-edge fit, excellent for curved or uniquely shaped screens.
Key difference:
Hydrogel bends. Tempered glass doesn’t.
Fit & Coverage (Hydrogel Wins)
Modern cars often have curved or tapered displays. Tempered glass cannot follow these shapes, leaving exposed edges, air gaps or weak adhesion points.
Hydrogel protectors conform perfectly to flat, curved and 3D-shaped screens. They wrap the edges, eliminate halo gaps, and achieve full-surface coverage.
If your car’s screen isn’t perfectly flat, hydrogel is the correct choice.
Scratch & Impact Protection
Tempered glass:
Extremely resistant to scratches
Can crack on impact, sacrificing itself to protect the screen
Once cracked, must be replaced
Hydrogel:
Softer surface, but self-heals micro-scratches over time
Doesn’t shatter; absorbs everyday bumps
Ideal for preventing long-term wear and swirl marks
Glass is harder; hydrogel stays clearer longer thanks to self-healing.
Clarity, Glare & Touch Sensitivity
Both types maintain high clarity and touch accuracy, but behave differently in real use:
Tempered glass:
Ultra-clear
Glossy surface shows fingerprints easily
Good touch response
Hydrogel:
Crystal-clear or matte anti-glare options
Reduces reflections in sunlight — very useful in cars
Zero touch interference due to ultra-thin structure
Minor micro-bubbles self-resolve within hours
If you drive in bright sun or hate fingerprint shine, hydrogel’s matte option is a major advantage.

Installation & Removal
Tempered glass:
Simple dry install
One-shot alignment
Rigid, so easy to place but unforgiving if misaligned
Hydrogel:
Dry or wet install
Allows micro-adjustments
Easy bubble removal
No cracking during installation
Removal is simple for both, though hydrogel is safer (no glass shards, no risk of breakage during removal).
If you want to learn more about how to install your hydrogel navigation screen protector visit our guide.
Which Should You Choose?
For general car owners with modern infotainment systems, the winner is clear:
✔ Hydrogel protectors are better for most car navigation screens.
Why:
Perfect fit on curved screens
Self-healing surface
Anti-glare options
Full edge-to-edge coverage
Zero loss in touch sensitivity
Tempered glass is fine for older or perfectly flat screens — but today’s automotive displays benefit more from hydrogel technology.
FAQ
Does a navigation screen really need protection?
Yes. Screens scratch easily, attract fingerprints, and are expensive to replace. A protector preserves clarity and resale value.
Is hydrogel or tempered glass better overall?
Hydrogel — unless your screen is perfectly flat. It fits better, reduces glare, and self-heals surface scratches.
Will a protector affect touch response?
No. Both types maintain excellent touch accuracy. Hydrogel is especially responsive due to its thin, adaptive structure.
How do I protect my screen from fingerprints and glare?
Use a matte hydrogel film. For more techniques, see our guide on [How to Protect Your Car’s Navigation Screen from Scratches, Glare & Fingerprints].
Which cars benefit most from hydrogel protection?
Any model with curved, large, glossy or high-resolution displays. See our model list: [Which Cars Benefit Most From Hydrogel Navigation Protection?].
For custom-cut hydrogel protectors for your exact car model, visit mr-key.com.
Related Guides
How to Protect Your Car’s Navigation Screen from Scratches, Glare & Fingerprints
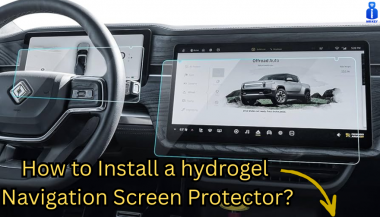
How to Install a Hydrogel Navigation Screen Protector
Which Cars Benefit Most From Hydrogel Navigation Protection?
_1733388347.jpg)
_1752144685.jpeg)